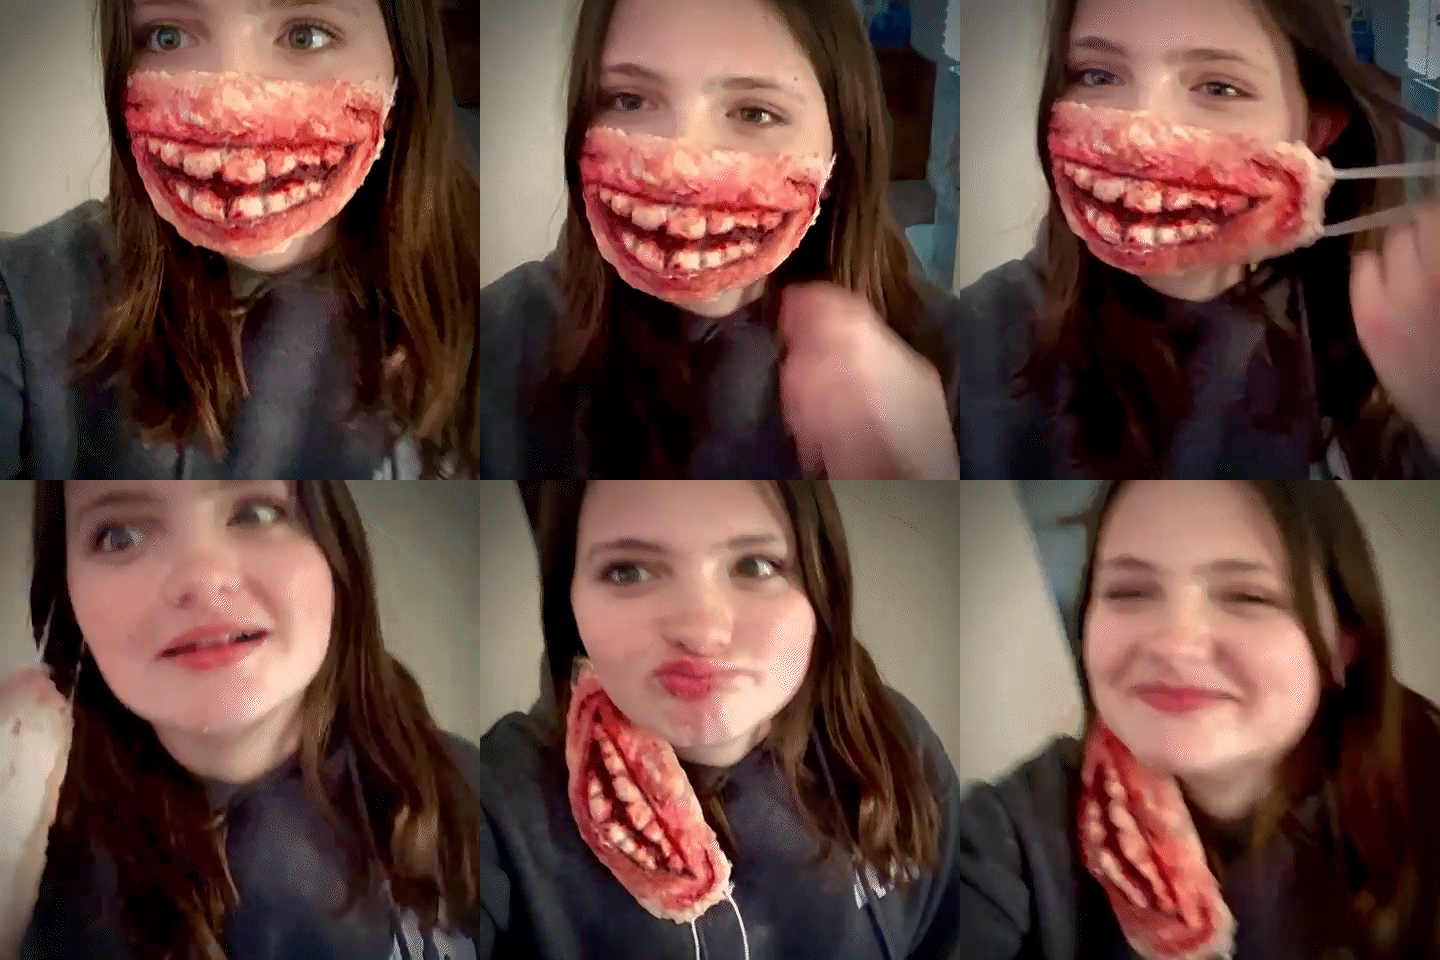
Hey there, SFX makeup enthusiasts! Are you ready to unleash your creativity and dive into the mesmerizing world of special effects makeup? Well, you're in luck!
Today, I've got something special lined up just for you. In this article, I’ll reveal three super cool and unbelievably easy SFX makeup ideas that even beginners can master with ease.
Grab your brushes, gather your spirit of adventure, and let's dive into the realm of enchanting transformations. Get ready to amaze yourself and everyone around you with these mind-blowing effects.
Let's get started!
1. Cuts and Bruises
The most common SFX technique is to create cuts and bruises. The cuts may take a few tries to master, but practice makes perfect!
Here’s what you’ll need:
- Modeling Wax
- Concealer
- Foundation
- Eyeshadows
- Brushes and spatula
- Fake blood!!
Step 1: Scoop out some of the Modeling wax using the spatula, roll it, and apply it on your cheekbone or wherever you want to make a wound. You can use some clear balm on your hands for better handling.
Step 2: Use the spatula or your fingers to blend the wax on your face creating a smooth finish and seamless edges.
Step 3: Once the wax is in place, get into detailing the cuts. Try and make your cuts as realistic as possible! You can use the spatula, the end of the brush, or simply a toothpick. To help prevent the wax from sticking to your tool, adding some Vaseline can help a lot!
Step 4: Conceal it perfectly! Use your favorite concealer and get the wax to match your skin tone. You can use a little bit of foundation to create the effect!
Remember to start with small amounts and without applying too much pressure on the wax. Don’t cake it up!
Step 5: Color it for the detailing! Grab your eyeshadows and create depth. Use pink and purple outside the cut to show the effects of bruising and swelling. Use shades of brown to compliment that effect.
Use deeper shades of red for the insides of the cuts. Use cotton swabs or eyeshadow brushes to blend everything. You don’t need to add a lot of color around the wax, to much color makes it start to look fake.
Step 6: Complete your look with fake blood. The most important thing to remember is less is more! A little too much blood may make it seem unrealistic.
Now that you know how to make simple cuts look realistic, how about we take this one level up and add an object to our SFX makeup?
2. Pencil Through the Nose
Here’s an interesting one to take your SFX makeup looks up a notch!
What you’ll need:
- A pencil
- A cutter
- Liner pencil
- Latex
- Modeling Wax
- Eyeshadows
- Brushes and spatula
- Fake blood (duh!)
Step 1: Cut the pencil at an angle using a cutter in three pieces. Discard the middle piece, as it will be the part that goes through the nose. If you’d rather cut the pencil in half, it’ll be too long and difficult to be placed on your face!
Step 2: Stick the bottom part (let’s call it part 2 for ease ahead) up your nose and adjust the upper part of the pencil (part 1) on the bridge of your nose where you’d like it to come out of. Draw the exit point and the angle using your liner pencil so you know where to stick part 1 of the pencil and where to paint your wound.
Step 3: Apply Latex on the area on the bridge of your nose where part 1 of the pencil will exit and stick it nicely. Roll some Modeling Wax and apply it on the bottom part of Part 1 of the pencil to cover it up and create an effect of the pencil coming out of the nose.
Use your fingers to smoothen the edges and blend them into the skin. (For a smoothing edge you rub Vaseline over the wax then powder it!)
Step 4: Use concealer and foundation to cover the wax and match it to your skin tone. Use eyeshadows to create effects of swelling and bruising, and fake blood on the exit point of the pencil.
Seeing too much about Eyeshadows and Fake blood and getting confused? Fret not! These are essential to bring the whole look together and give viewers something to ponder. Just follow the simple instructions given in the first tutorial, steps 5 & 6, and you’re good to go!
Step 5: Brush up some eyeshadows and fake blood on the entry point of your pencil, i.e., your nostril. Now insert your pencil in the nostril carefully, keeping in mind you must put it at an angle to complement the first half already sticking on your face. The pencil must appear straight!
If you have trouble sticking the pencil in your nostril, you can use some eyelash adhesive to do the job.
Step 6: Add some fake blood to your nostril and drip some on the upper part of the pencil to create more drama! Enjoy the looks you get at your next Halloween party!
3. Shot Out Eye
Walking Dead fan? Hell yes!
Let’s recreate the EYEconic Carl’s look. It’s amazing and easy enough to recreate, even if you are a beginner.
Things you’ll need:
- Eyeshadows
- Black Gel Liner
- Modeling Wax
- Skin Tape
- Brushes and Spatula
- Fake Blood
Step 1: Complete your look for the first eye. Apply black eyeshadow on the lid and your lower lash line. Blend it out with brown on the crease and the brow bone. Continue blending beneath the lash line for a blended-out look. Add black tears using water and a black gel liner.
You can add falsies for that extra flick!
Step 2: Moving on to your other eye. Close your eye comfortably. Avoid using any kind of force and tape it up with skin tape. Don’t forget your lashes! 3 pieces should do it.
Step 3: Now that your eye is safely secured in the tape scoop out some Modeling Wax and roll it. Apply it on your eye with your fingers or the spatula creating messy patterns to give a fleshy effect. Blend out the edges to make them smooth.
Step 4: Apply concealer and foundation on the edges to blend it into the skin. Use pink, purple, and brown eyeshadows to create depth and drama. Use black and deep red shades on the middle of the wax and detail it with dark brown and black shades.
Step 5: Time for a blood bath? Dab on some fake blood on the eye to give it a wet and more realistic look. Smear it out, especially in the hollow areas. Let it drip down the cheek. Tear out little pieces of a sponge and dab them on your cheek for an added theatrical effect. Also, you can use a brush to spread the blood more precisely.
And you’re done! Complete your look with your favorite bloody lipstick and the Walking Dead theme song!
Final Thoughts
And there you have it, my fellow makeup enthusiasts! You've conquered three fantastic SFX makeup ideas that will leave everyone in awe of your skills. Remember, these creations are just beginning your journey into the magical realm of special effects makeup. So keep exploring, experimenting, and pushing your boundaries.
Don't forget to share your masterpieces with friends and family because the joy of makeup is meant to be shared.
Now it’s time to unleash your imagination and let your artistic talents shine. Until next time, keep slaying those SFX looks, and have a blast!


