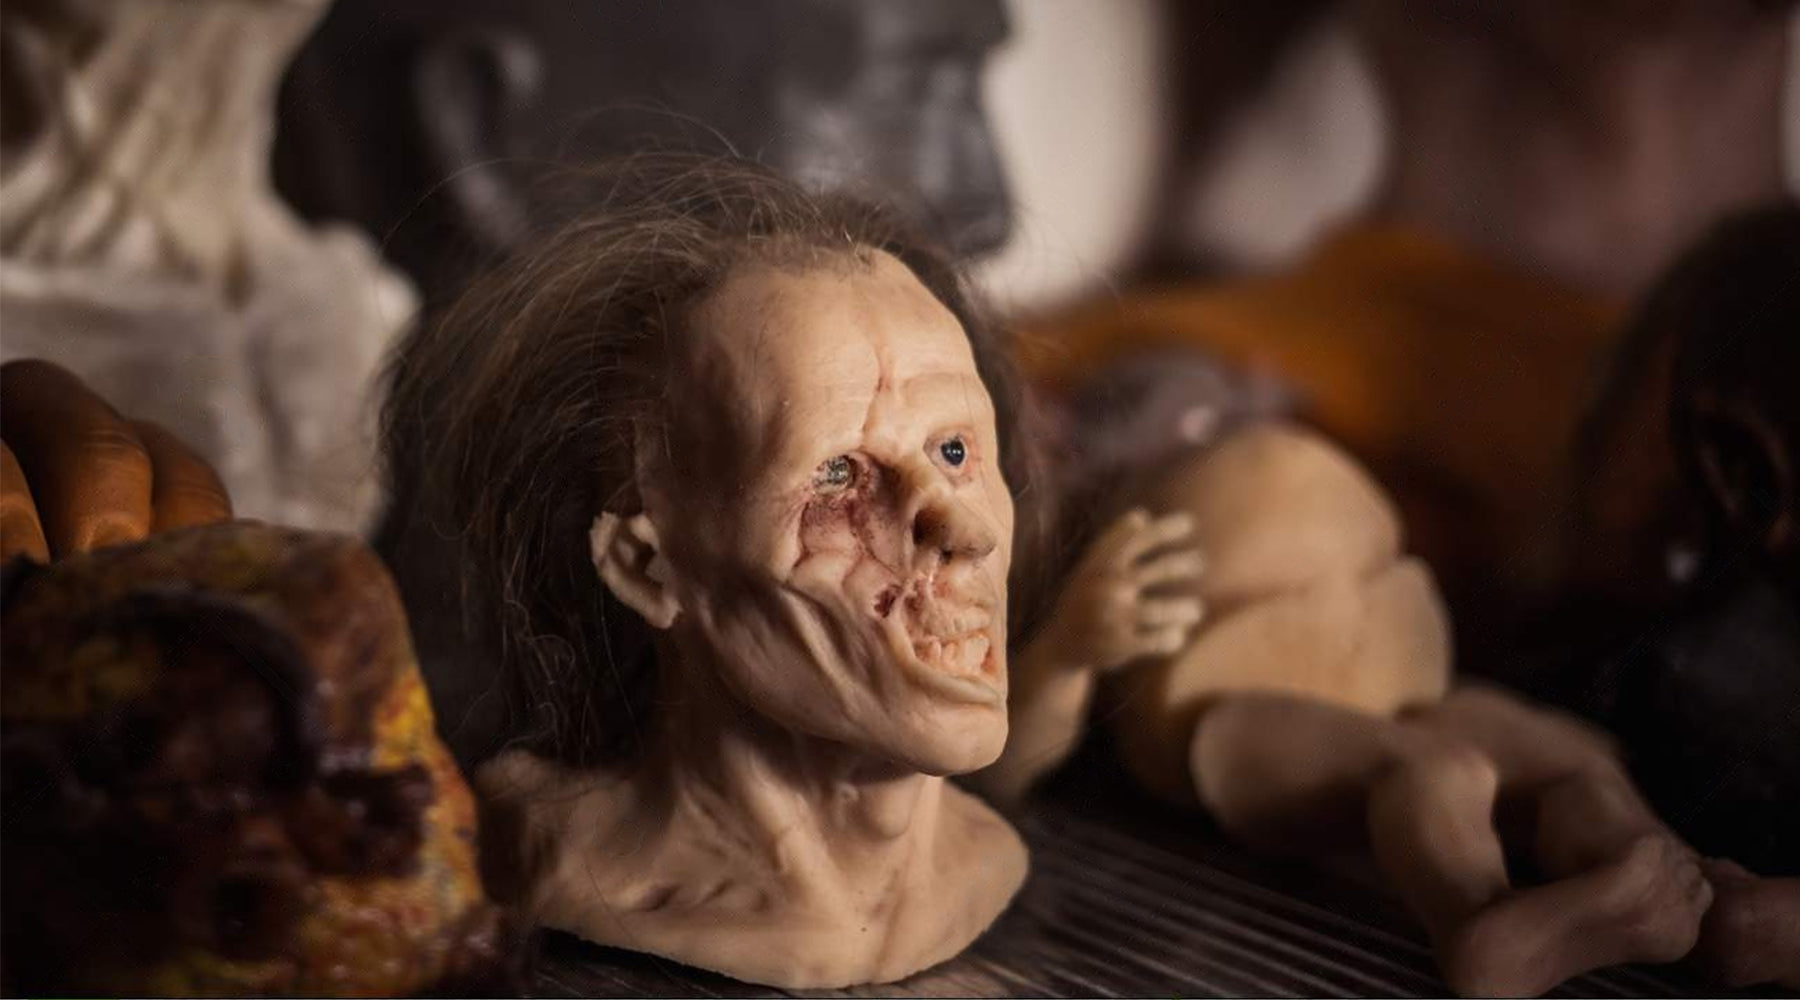
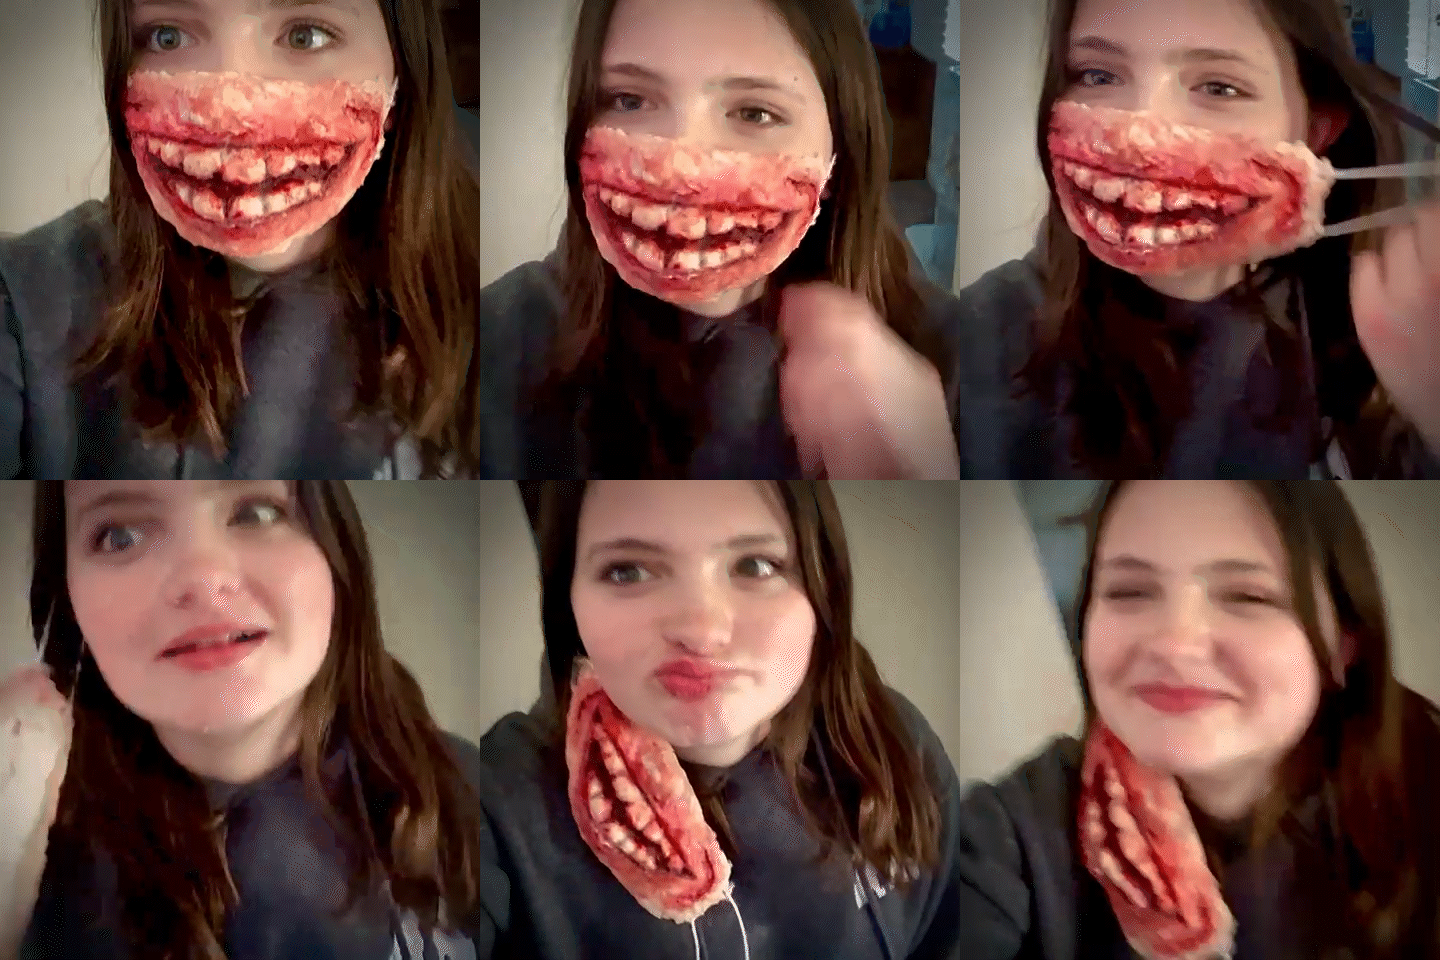
The world of SFX makeup is a marvelously creative field.
Watching movies and tv, we witness so many bizarre and outlandishly awesome transformations. Not many people stop to think how were these fantastic artists able to execute these transformations...?
The answer: SFX makeup!
This blog will focus on one aspect of SFX makeup: Lifecasting or, more specifically, face casting.
If you’re new to SFX makeup, you should check out my blog post: SFX Makeup for Beginners: 5 Tips to Start before you dive into face casting!
What Is Face Casting?
Simply put, it is the process where a 3D mask of a face is created using casting and molding.
Face casting aims to make custom prosthetics that show aging, disguises, and many more SFX looks.
If you're a beginner and getting started with a face casting, I'm here to help you! I’ve compiled a guide for safely creating an SFX face cast.
A word of caution: Have at least one person with you who can help when necessary. You’ll know what I mean as we dive further into it.
Let’s get started.
All You Need to Know About Face Casting...
1. Materials Required
The first items you will need to create a perfect face cast are:
- Vaseline
- Alginate
- Plaster bandages
- Bald cap (or anything to help cover your hair and pull it back)
- Water
- Mixing bowls
- Spatulas
That's about all the essential items you need to start.
2. The Preparation
Ideally, you will have at least one or two people with you during the process as spectators, regardless of whether you're making one of yourself or someone else. This is to help in case of any safety issues during the process.
Safety comes above all, but don't worry, it's not that dangerous. Just take the steps slowly.
I've divided the preparation process into steps so it's easier for you to understand and follow:
Step 1: Cover the head with a ball cap to keep the hair out of the way. To ensure that the ball cap stays on, many SFX artists apply liquid latex around the premises of the faces so that the ball cap adheres to the head without coming off.
Step 2: Apply Vaseline on your or your model's eyebrows and eyelashes, so they don't rip off during the face casting! Don't skip this part. No, seriously, DO NOT SKIP this part! Your volunteer, customer, or yourself will regret it when it's time to remove it.
Step 3: This is when you prepare the alginate.
For beginners, alginate is a modeling material dentists use to take impressions of your teeth. It is also used for face casting and is totally safe to work with...if you take all the necessary precautions.
Mix alginate with water and apply it to your face quickly. Alginate takes only a couple of minutes to set, so be efficient.
3. The Process
Now comes the part you've been waiting for!
Step 1: Apply Alginate
Apply the alginate until it covers the entire surface of the face. Be careful when using it around the nose, as applying it on the nostrils can block your or your model's airways. Remember when we were talking about safety and having someone there? This is a reason.
The best way to work around the nose is to apply the mix by hand, as it gives you more control.
If you're face casting yourself, try to leave out at least one eye so you can see during the process. You can go back and cover up that eye on the mold later. If you are skilled enough, you can skip this part and do it by feel.
Step 2: Plaster Bandages
Cut plaster bandages into strips and dunk them in water. Take them out, squeeze the excess water, and apply them to the face.
Please leave room for the model or yourself to breathe by keeping the bandage away from the nostrils!
Step 3: Take Off the Mold
Keep checking to see if the plaster is dry. It will heat up when set, and when it cools down, you’ll know it’s time to remove the mold from the face.
Ease your fingers around the edges of the mold and gently tug at it. Be careful, or your face cast could break around the edges.
Step 4: Fill Holes
This is when you can fill in the nostrils, eyes, or any other part needing repair or touchup.
Step 5: Pour the Plaster into the Mold
First, apply some Vaseline on the inside of the alginate mold to prevent it from bonding. It's time to pour in some plaster. Mix the plaster with water and pour it into your mold.
Let it set before you separate the alginate and plaster mold. This is where Vaseline works its magic, helping to smooth the separation of the two.
Step 6: Beautify
Lastly, work on the imperfections of the final mold with sculpting tools and sandpaper to give your cast a clean finish. And you’re done!
I hope this blog helped you make your first-ever face cast successfully. It gets better with practice, so keep at it and don’t give up!
Please comment below with any thoughts, ideas for new blogs, or a step you think I should enhance or add.


