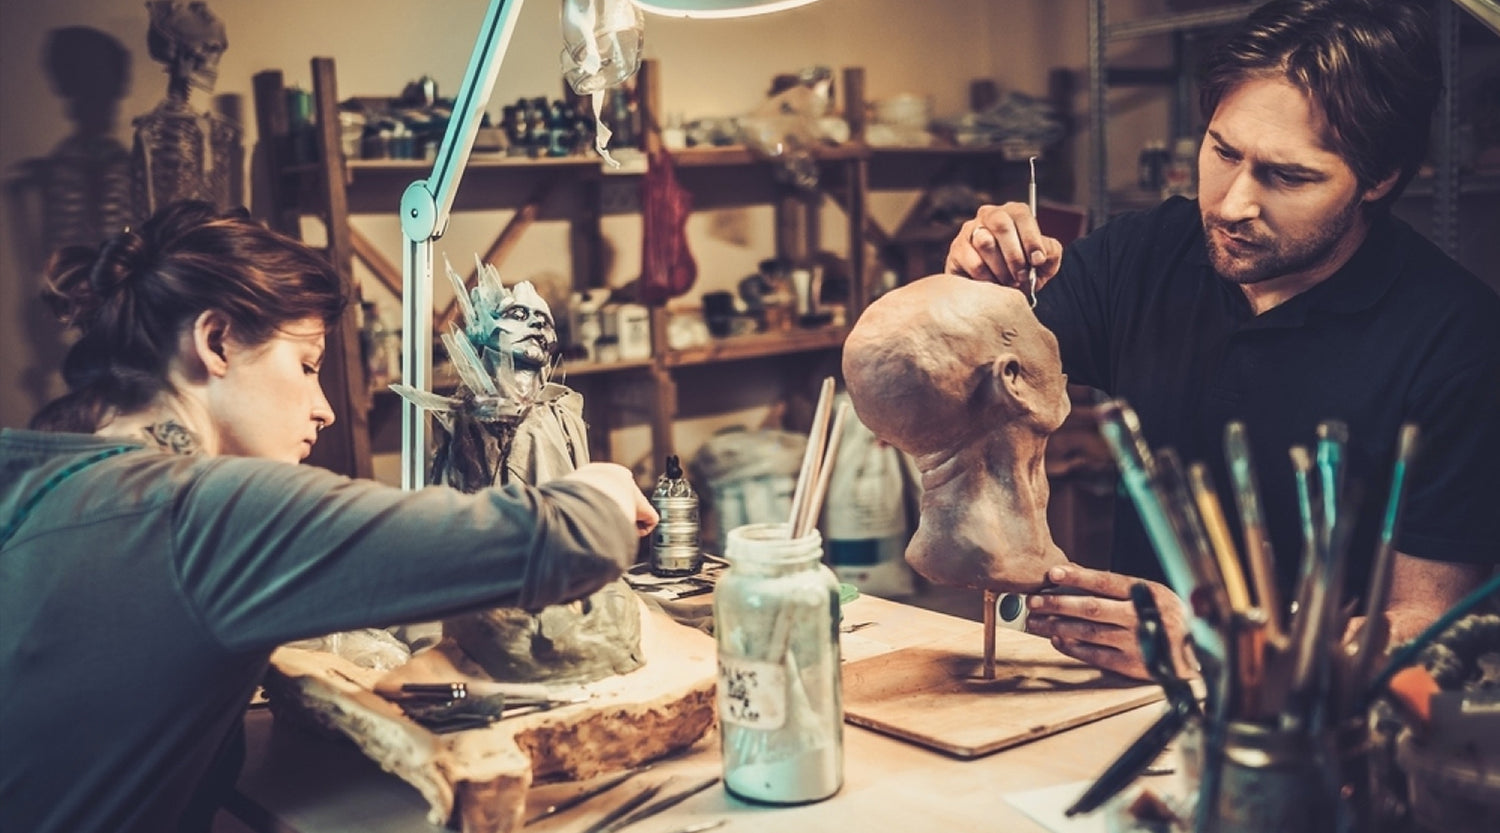
Most of us have heard the term prosthetics and have an idea what it is, but do you know what they are in SFX? Better question...do you know how to make them?!?!
It's a favorite of mine and, well, most SFX artists. That's because it is one of the most popular items in SFX makeup.
What Are SFX Makeup Prosthetics?
Prosthetic makeup can create realistic and futuristic-looking things to suspend the audience's disbelief. Basically, it alters the appearance of a person's face and body.
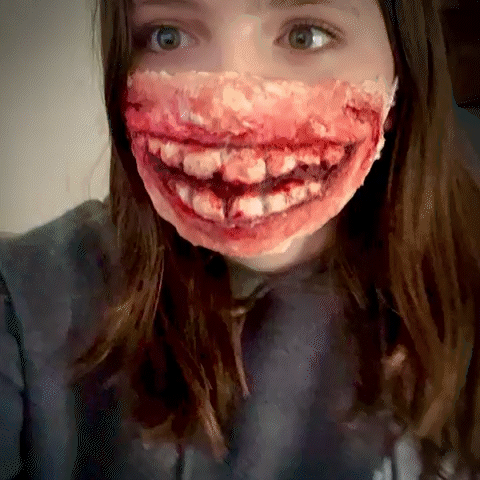
Some popular prosthetics makeup examples include werewolf transformations, devil horns, elf ears, open wounds, and more.
The common materials used for prosthetics are latex, silicone, and gelatin. It's crucial to ensure all products used are safe on the skin!
Caution: some people are allergic to latex and silicone, so I’ll advise you to ask them before diving in.
Working with safe and suitable quality products goes a long way in making prosthetics makeup easy. In this blog, I'll talk about how to make SFX makeup prosthetics with easy-to-understand steps!
Materials Needed
First, I will discuss the materials needed to execute a good prosthetics makeup look! You'll need the following items to start a basic look:
- Modeling Clay
- A bowl of water
- Plaster of Paris
- Sculpting tools
- Washcloths or lots of paper towels
- Work station
- Vaseline or similar (it helps prevent sticking)
- Waterproof sheets
- A pair of human hands (preferably your own two hands)
- The Internet
- (optional) sewing needle
The Process
STEP 1:
Grab your clay. Now, put some between your hands, roll it into a ball until you have the right amount, and press it flat. This will form the base of your prosthetics look. The right amount is objective because it depends on the look you are going for.
Now, start sculpting the clay into the desired shape. Add water to keep the clay moist and easy to work with. Use any tools you can find. Paperclips, pencils, spoons, forks, scissors, and such. Or, go to Amazon. They have excellent sculpting tool sets you can get for cheap prices.
Remember: There's no hard and fast rule that you have to create the craziest and spookiest prosthetics on your first attempt.
STEP 2:
After you've decided what you want to create, search the internet for photos of how you want your prosthetic design to look.
If you want a deep gash wound, sculpt the clay by pressing it in some places and moving it in the raised direction to create the scarring surface.
You can do this part by hand or use different tools! You don't need to invest in industry-level tools; your kitchenware and office stuff will work just fine.
Pro-tip: Use a washcloth to add texture to your clay to mimic the rough skin around the scar.
Now, wait for your clay to dry.
STEP 3:
This is where you create your mold using plaster of paris.
Warning: Working with plaster can get pretty messy. And don't pour the leftover down your sink, or it could harden up and clog it.
Follow the instructions on the packaging of the plaster and mix it with water accordingly. Now, gently pour the smooth mix onto your clay mold until completely covered.
STEP 4:
Let the plaster sit for about a day for it to be cured. Then, very carefully, separate the clay mold from the plaster of paris mold.
Tip: You can use a sewing needle to remove excess clay from the crevices of your plaster mood. What a nice hack.
STEP 5:
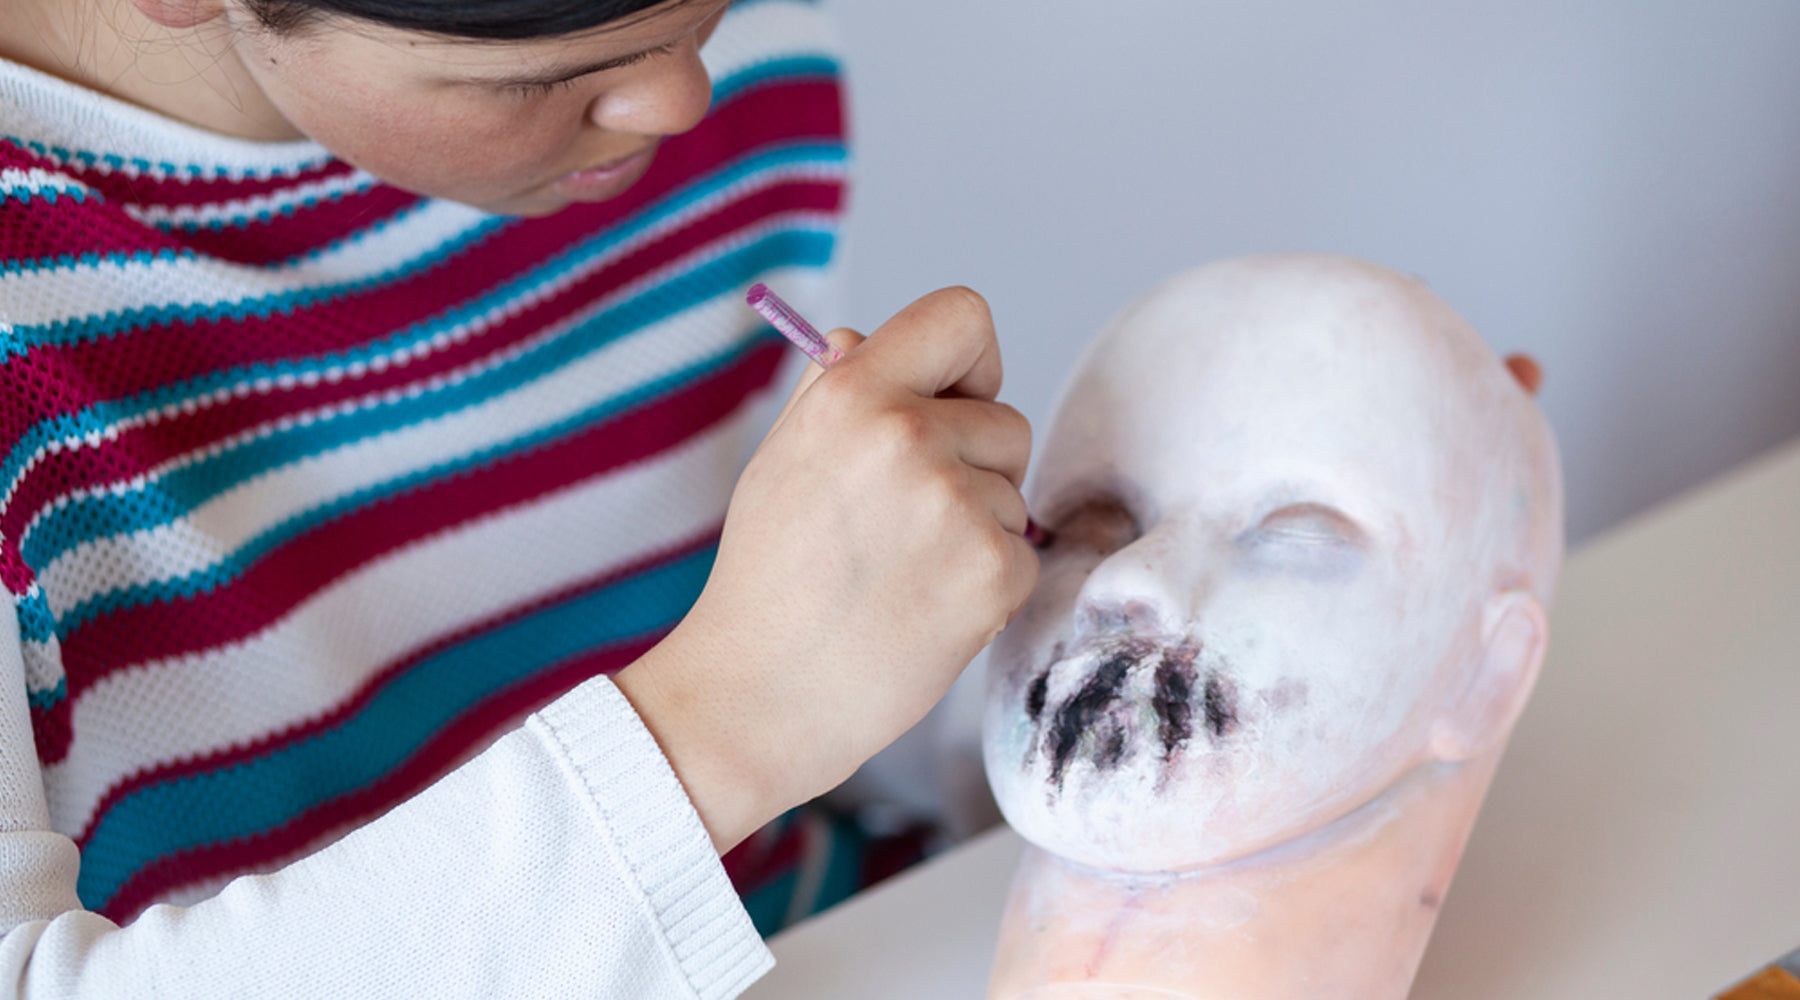
At this stage, your mold should be ready for casting! This step can be executed using your preferred prosthetics material.
Apply a generous layer of vaseline on the insides of your mold and pour in liquid latex. If you’re working with silicone, pour in silicone and let it set.
Caution: Make sure it's dry thoroughly before working with it. I suggest 24 hours, but I know there will be a lot of grumbles, so just make sure it's dry. Dry time depends on the height and width of your mold. Make sure to be patient! If it's not dry, well, lesson learned. Haha.
Carefully peel the hardened latex/silicone, and there you have it: Your very own prosthetics made from scratch!
How does it feel?
Parting Thoughts
I hope these guidelines help you successfully create incredible SFX makeup prosthetics.
Remember, this whole process is like art. It will take time to learn how to achieve your desired look. Stay optimistic. Keep at it. This should feel like a lot of work when first starting. The best thing to do is go for it. Don't overthink it.