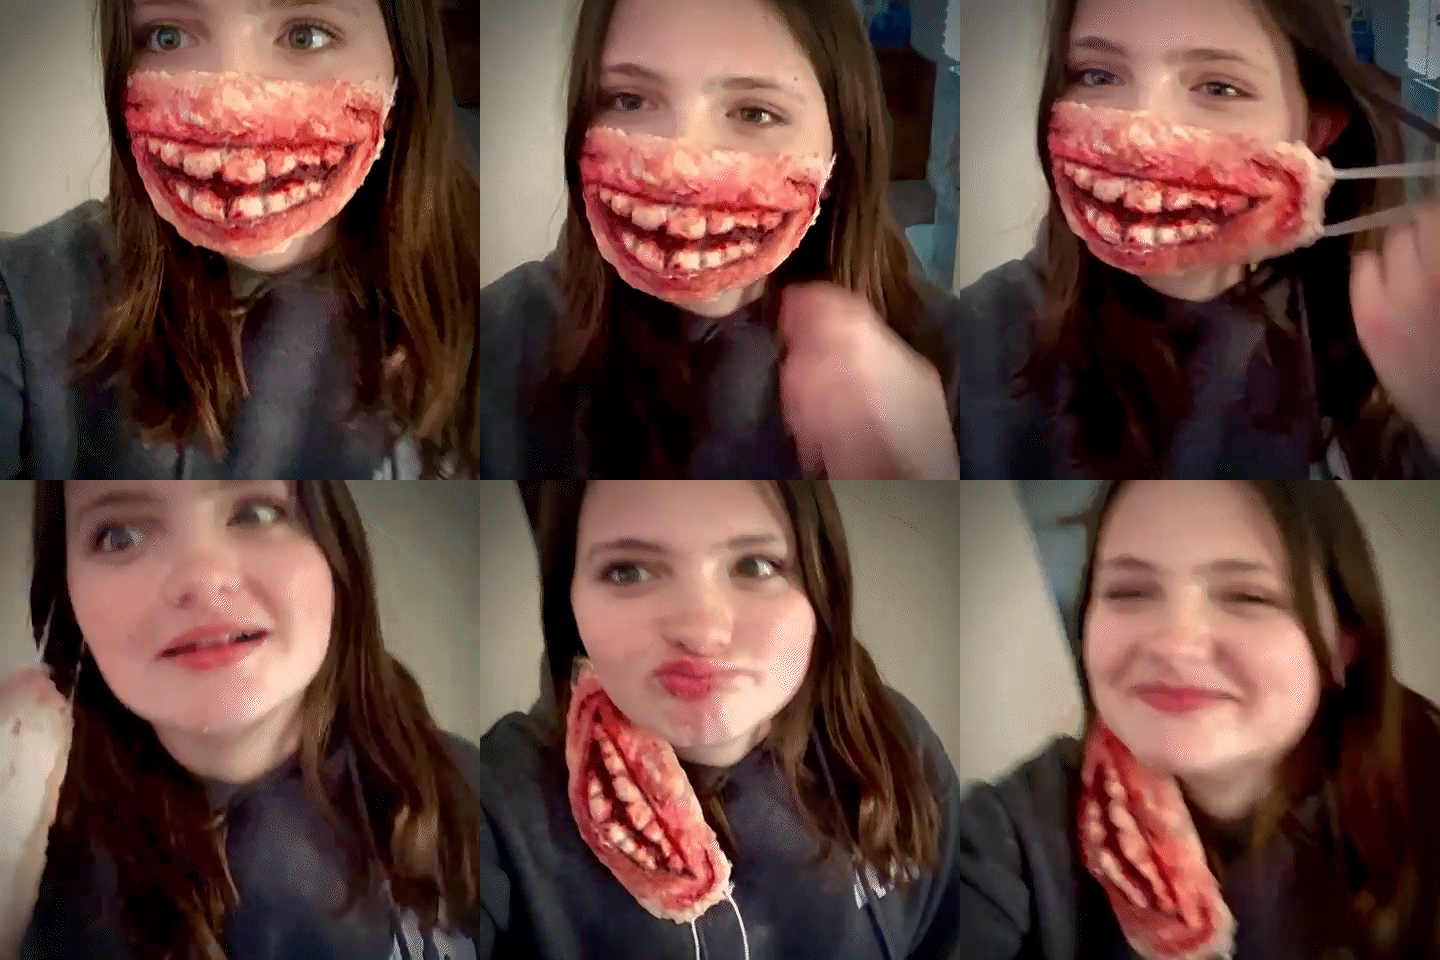
Okay, so how do SFX artists apply such realistic SFX prosthetics to actors? And most importantly, how does it stay on while they're performing actions?
In my last blog post, How to Make SFX Makeup Prosthetics, I talked about how to make SFX prosthetics easily for Halloween, photoshoots, etc. This one will talk about how to apply them.
If you do not know how to make or don't have any prosthetics, I would suggest you go through my last blog post and then read this one.
Now, let's jump into how to flawlessly apply SFX prosthetics and achieve the gory look of your dreams.
Step 1: Prep Skin
Like any other makeup routine, you must prep the skin before applying.
Start by washing the area and patting it dry. Next, remove oils from the skin using Witch Hazel or alcohol to prevent prosthetics from slipping.
Now, the skin is ready for prosthetics.
Step 2: Prep Prosthetic
Position the prosthetic in the area where you want to apply it to get a better idea of the placement. If you skip this step, once you stick the prosthetic down on the skin, it will be easier to remove it and start over.
Tip: Mark the area where you want the prosthetics with talcum powder so that when you glue the prosthetic, you'll know exactly where to place it.
Step 3: Apply Adhesive
To ensure that your prosthetic stays on, it’s advisable to apply a good quality SFX adhesive to the prosthetic you’ve prepared and on your skin where the prosthetic will go.
If you’re working with latex and silicone, you’ll need Pros-Aide adhesive. If your prosthetic is made of gelatin, there are lots of adhesives for gelatine available on the market.
Remember to avoid applying the adhesive to the edges of your prosthetic. We don’t want them to clump together and waste your entire effort… right?
Caution: be very careful when applying adhesive around the mouth and eyes. If there is any contact, please rinse them as soon as possible.
Step 4: Apply Prosthetic
Now comes the time to apply the prosthetic to the skin. Please, make sure the adhesive from step 3 is dry first.
Press down on the prosthetic with a firm hand. If you're working with a large prosthetic that covers a large area, do it section by section. This step requires time and patience, but this stage makes or breaks your SFX prosthetic makeup.
Step 5: Blend Prosthetic Edges
If the edges need a little more work, take a q-tip and use it to apply small amounts of adhesive to the edges where the prosthetic meets your skin.
If your prosthetic is made of gelatin, use a cotton swab or a q-tip to blend the edges of the prosthetic.
Now that you’re satisfied with it, there’s one last step left.
Step 6: Paint Prosthetic
To make the prosthetic look as natural as possible, you can paint it to match the skin tone of the person wearing it.
It’s best to use alcohol-activated paints as their translucent finish gives prosthetics a real touch.
Bonus: Removing SFX Prosthetics
While it’s important to learn how to apply the SFX prosthetics, it’s also essential to know how to remove it safely. All you need is some Isopropyl Myristate and a bag of cotton applicators. Rub on the edges of your prosthetic gently until they come off.
The Bottom Line
If you’re an avid reader of my blogs, you know how to make your own SFX prosthetics makeup and apply it like a pro!
The only tip I have for you is: Practice! Practice! Practice! And of course, keep following my blog to learn all about SFX.


